

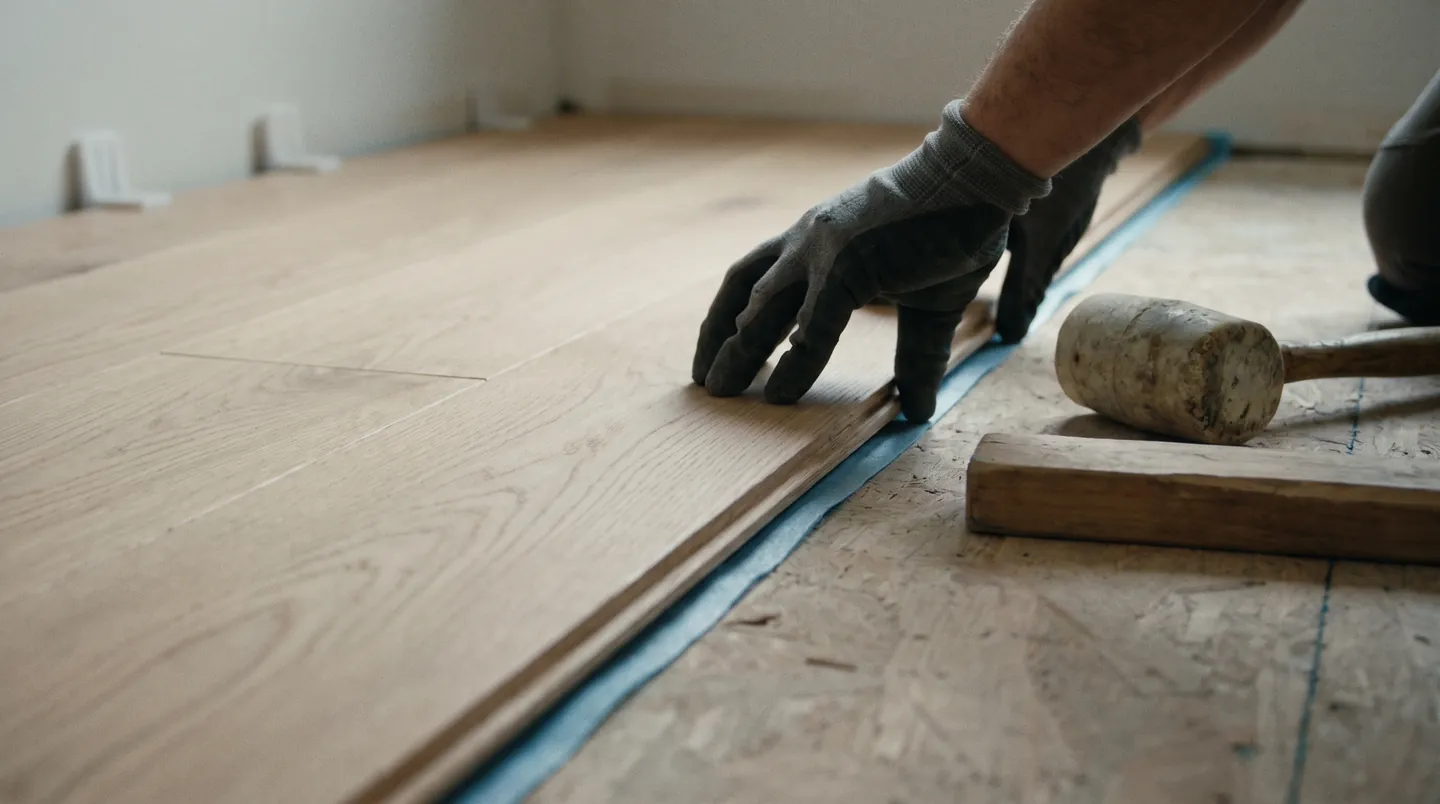




Installer seating a white oak plank

Installation

Flooring Installation Starts Below the Surface

01Assess
02Acclimate
03Prepare
04Lay out
05Install
06Finish

Most flooring installation failures trace back to steps you never see: moisture testing, subfloor flatness, acclimation and layout. Here's what a well-run install involves, and what to ask any installer before work begins.

Why Flooring Installation Fails Before the First Plank

Floors rarely fail because the product was bad. They fail because the slab was wet, the subfloor had a dip, or someone skipped acclimation to finish a day early. Then the product gets blamed.

Every floor comes with an installation guide, and it isn't a suggestion. Manufacturers write moisture limits, flatness tolerances, gap sizes and approved underlayments into it, and their warranty usually depends on following it. A good installer reads the guide for the exact product going into your home and plans around it. Requirements differ by category, so compare our luxury vinyl plank page and our solid and engineered hardwood page.

The Flooring Installation Sequence

Products differ. A disciplined installation still follows the same order.

  1. Measure every room and note door heights, appliance clearances and every spot where two floors meet.
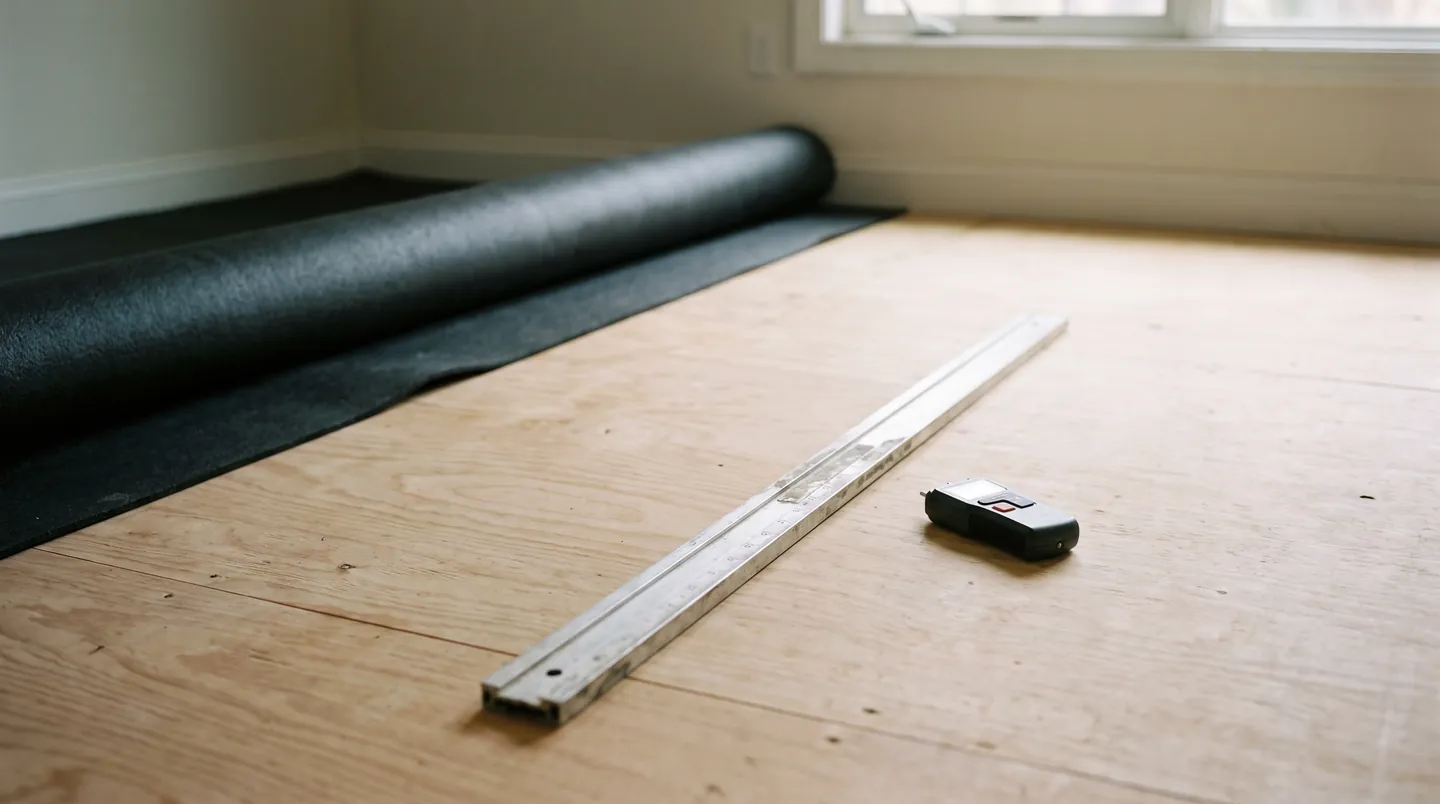
  2. Test moisture in the slab or wood subfloor and record the readings.
  3. Run the house at normal living temperature and humidity, then acclimate the product as long as its guide specifies.
  4. Grind high spots and fill low ones until the subfloor meets the product's flatness tolerance.
  5. Undercut door jambs and casings so the new floor slides beneath them.
  6. Dry-fit and snap layout lines so the room starts and ends with balanced rows.
  7. Install with the specified expansion gap, fasteners or adhesive trowel, and end-joint stagger.
  8. Fit transitions, reinstall base trim and walk the floor for hollow spots, gaps and lippage.
Installation sequence

Six stages, in the order that matters.

  1. 01

    Assess

    Moisture readings on the slab or subfloor, flatness checked with a straightedge, and the room measured for layout and transitions.

  2. 02

    Acclimate

    Wood products sit in the conditioned space for as long as the manufacturer specifies. Many rigid-core vinyls don't need it; the guide decides.

  3. 03

    Prepare

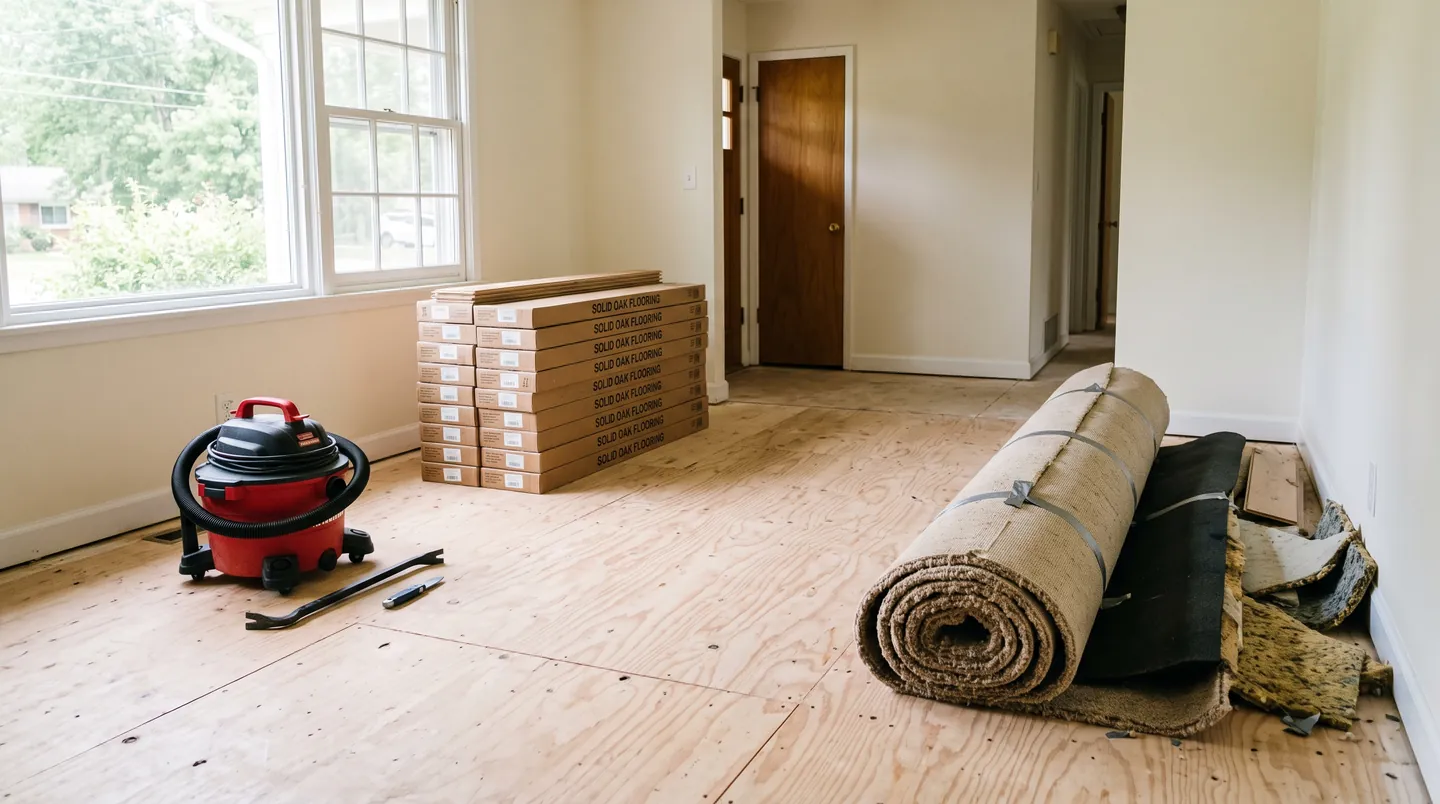
    High spots ground, low spots filled, squeaks fastened, underlayment or membrane installed. The floor is only as flat as this step.

  4. 04

    Lay out

    A straight starting line, balanced cuts at both walls, and planned transitions at doorways so no sliver pieces land where people look.

  5. 05

    Install

    Joints closed tight, end joints staggered properly, expansion space left at every fixed edge the material requires.

  6. 06

    Finish

    Trim, transitions and stair details fitted, the floor cleaned, and care instructions handed over before the furniture comes back.

Moisture Testing Methods for Concrete and Wood

What each common moisture test tells you
MethodWhat it measuresHow it worksWatch for
Calcium chloride (ASTM F1869)Vapor emission rate (MVER) at the slab surfaceA sealed dome over calcium chloride for 60 to 72 hours, then weighedReads only the top of the slab
In-situ RH (ASTM F2170)Relative humidity inside the slabProbes in drilled holes, typically at 40% of slab depth for a slab drying from the topBuilding should be at service conditions first
Wood moisture meterMoisture content of subfloor and flooringReadings across the subfloor and on sample boardsHardwood guides commonly cap the difference at 2 to 4 points by board width
Plastic sheet (ASTM D4263)Whether moisture is presentTaped sheet left at least 16 hoursNot a pass or fail for most warranties

Your product's guide sets the limit. Published limits vary widely, so a reading that passes for one floor can fail for another.

Scope Subfloor Prep to the Floor Going Down

Flatness standards change by product, so the prep plan should too.

You're installing floating LVP or laminate
Most manufacturers specify about 3/16 inch in 10 feet. Underlayment won't bridge dips, so fill them.
You're setting large-format tile
Plan for the stricter standard, typically 1/8 inch in 10 feet, which often means self-leveling underlayment.
You're nailing down solid hardwood
Confirm subfloor thickness, fastener holding and moisture readings before flatness.
The product glues down to concrete
Test moisture first. Adhesive can't fill dips without leaving hollow spots.
Carpet is going in
Fix squeaks and loose panels. Carpet forgives small dips, not movement.

Layout, Gaps and Transitions Show the Craft

Layout is where skill shows. A careful installer dry-fits a few rows, measures the room from both sides and shifts the starting line so you don't end with a one-inch rip along the most visible wall. Planks usually run with the longest sightline or toward the main light source. End joints on click products are staggered, commonly at least 6 to 8 inches apart, never in a repeating stair-step.

Floating floors need room to move. Most guides call for a perimeter expansion gap, often 1/4 to 1/2 inch, hidden under base or quarter round. Long runs and narrow doorways may need a break with a T-molding. Reducers, thresholds and stair nosings should be planned for height, never improvised. See where those decisions fit in our project process.

Questions to Ask Any Flooring Installer

Good answers are specific. Vague ones are a warning. If the job starts with tearing out an existing floor, also read what flooring replacement involves.

  • Which moisture test will you run, and what limit does this product's guide set?
  • How will you check flatness, and how is leveling priced if it's needed?
  • How long will the material acclimate, and where will it sit?
  • Where will seams, transitions and the starting row fall?
  • Who removes the old floor, who hauls it away and who moves furniture?
  • Can I see the manufacturer's installation guide you're working from?

The bottom line

What a Well-Run Flooring Installation Delivers

Documented readings
Moisture and flatness checked before installation and compared against the product's published limits.
A floor that stays put
No peaking, gapping or hollow spots caused by skipped prep or missing expansion space.
Clean details
Undercut jambs, balanced rows and transitions sized to the real height difference.
Warranty intact
Work that follows the manufacturer's guide, which most product warranties require.

Schedule a flooring installation estimate once your product shortlist is ready.

Flooring Installation questions

How long should flooring acclimate before installation?

It depends on the product, so follow its installation guide. Solid hardwood acclimates until its moisture content is close to the subfloor and the home's normal conditions, which can take several days or more. Many laminate products specify around 48 hours, and some rigid-core vinyl needs little or none.

Can new flooring be installed directly on concrete?

Yes, with the right product and prep. Floating floors, glue-down vinyl, tile and engineered hardwood can all go over concrete. The slab has to be tested for moisture, usually by in-situ RH or calcium chloride testing, and flattened to the product's tolerance. Solid hardwood generally isn't nailed to concrete without a plywood subfloor system.

What happens if my subfloor isn't level?

Level and flat aren't the same thing. A slight slope is often fine, but dips and humps cause flex, clicking joints, hollow tile and lippage. Installers grind high spots and fill low areas with patch or self-leveling underlayment until the surface meets the product's flatness tolerance. Severe slope may point to a structural issue worth investigating first.

Why do floating floors need an expansion gap?

Floating floors expand and contract as temperature and humidity change. Without a perimeter gap, the floor pushes against walls and cabinets, then peaks at the joints or buckles. Most guides call for a gap commonly between 1/4 and 1/2 inch, hidden under baseboard or quarter round. Pinning a floating floor with heavy cabinets or nailed trim causes the same problem.

Request an estimate for flooring installation

Your dream space starts here

A floor is only as good as its installation.

Tell us about the room, the way you live in it and the look you're after. We'll come back with materials that suit it and a clear estimate.