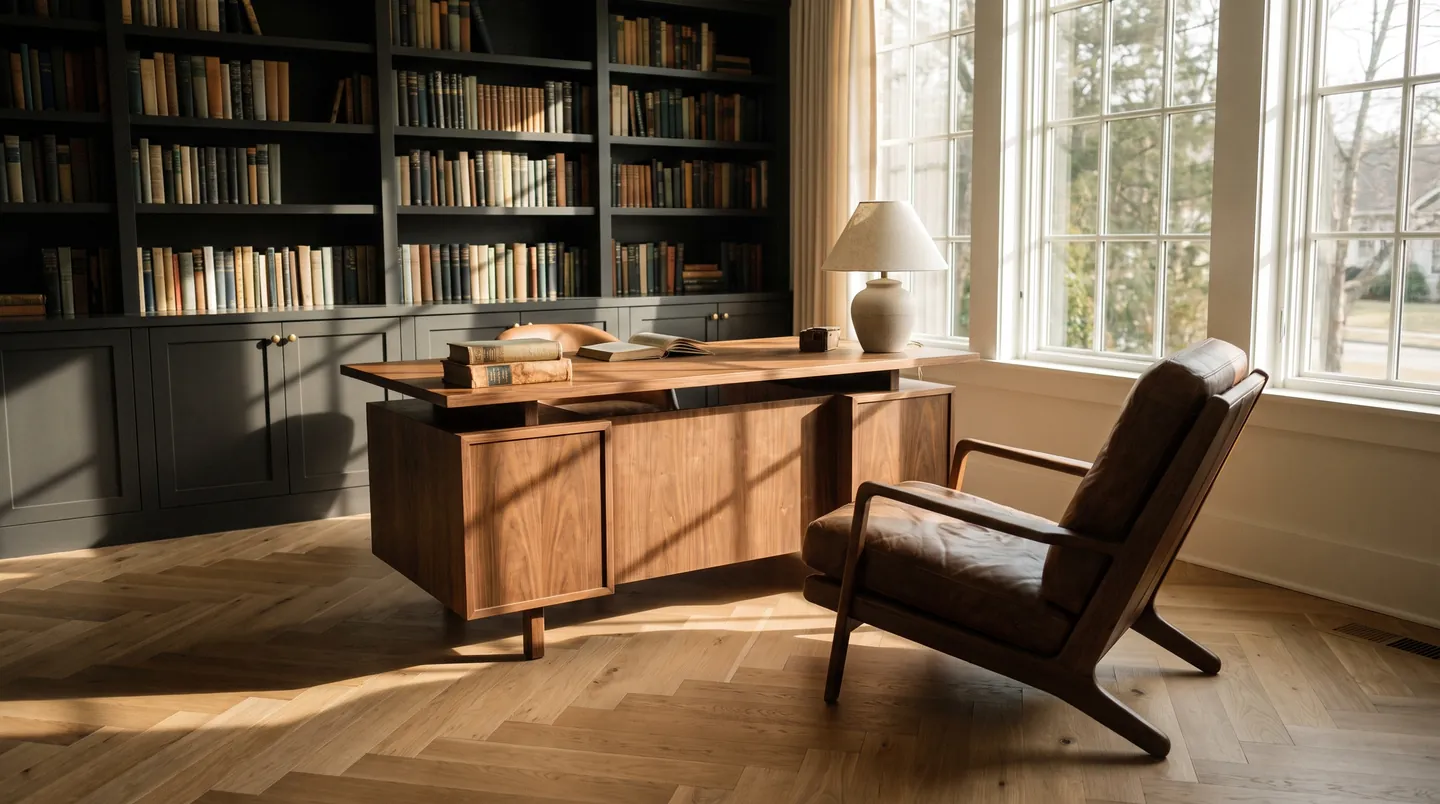
The Dream Home Experience
Our flooring process, from first sample to finished floor.
Eight stages, in the order a careful flooring process follows them. Timelines depend on the product and the site, so none are promised here; yours belongs in a written estimate.
Eight Stages of a Well-Run Flooring Project
Scroll through them in order. Skipping one rarely saves time; it usually moves the cost to later.
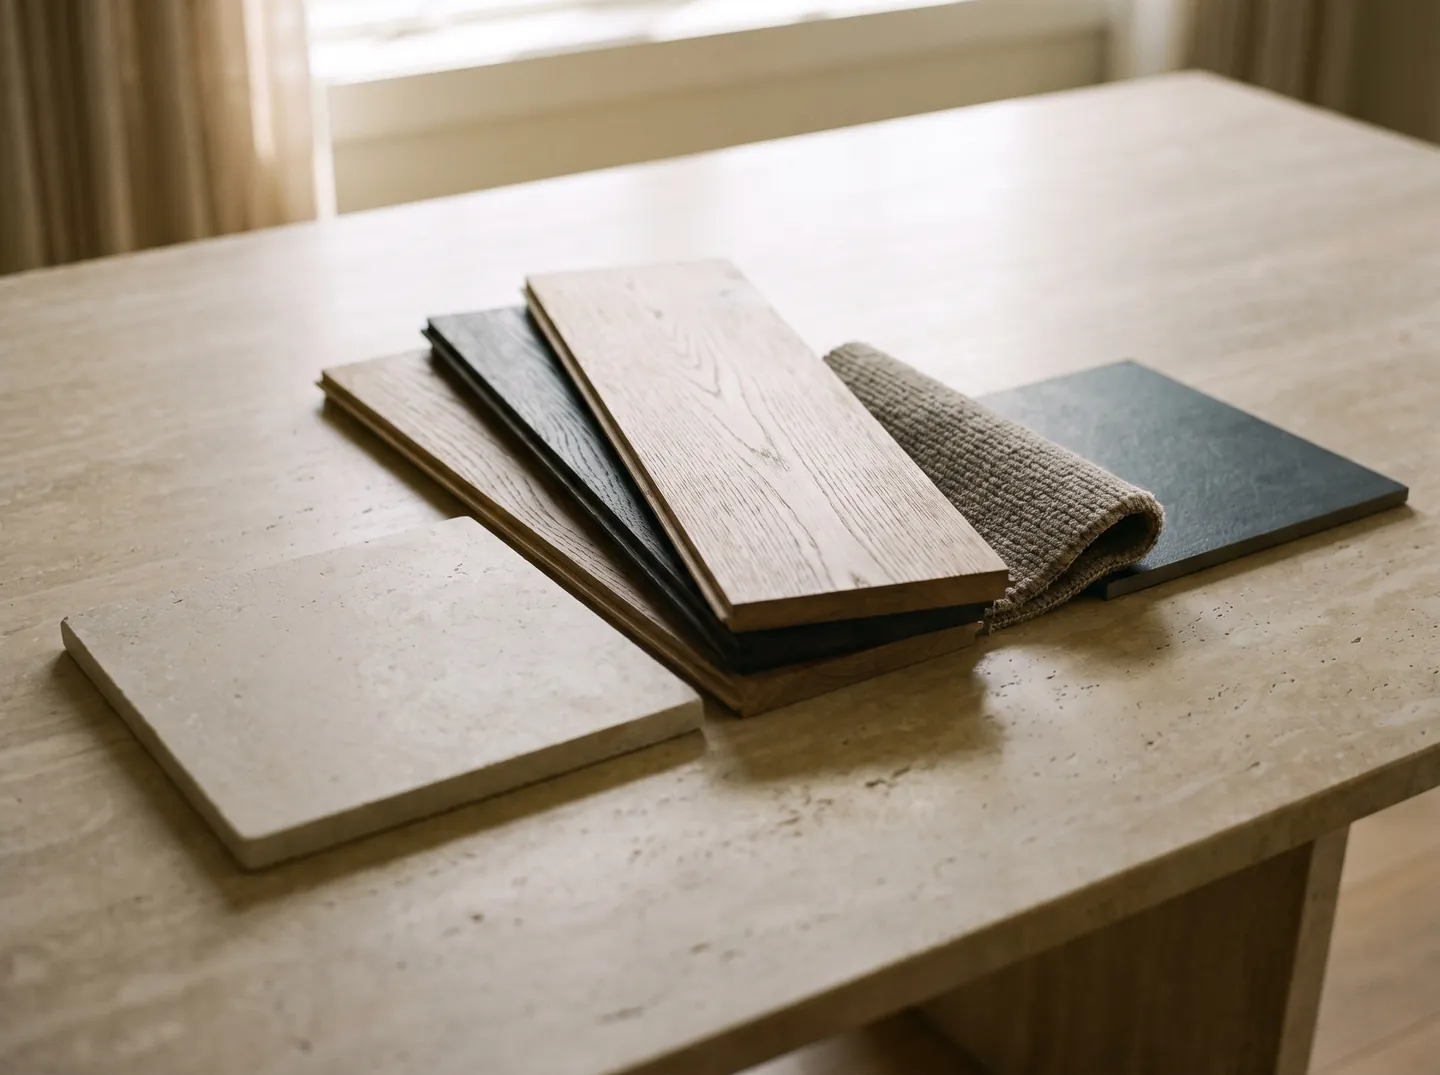
- Material samples. Illustrative image.
Stage 01 of 08
Consultation and samples
The first conversation is about the room, not the product: who walks on it, what's below it, how much sun it gets and what it has to sit beside.
Samples come next, big enough to judge and seen where they'll live. A small chip under showroom lights says little about a 9-inch plank in a north-facing room. Weighing categories? Compare hardwood flooring with luxury vinyl flooring first.
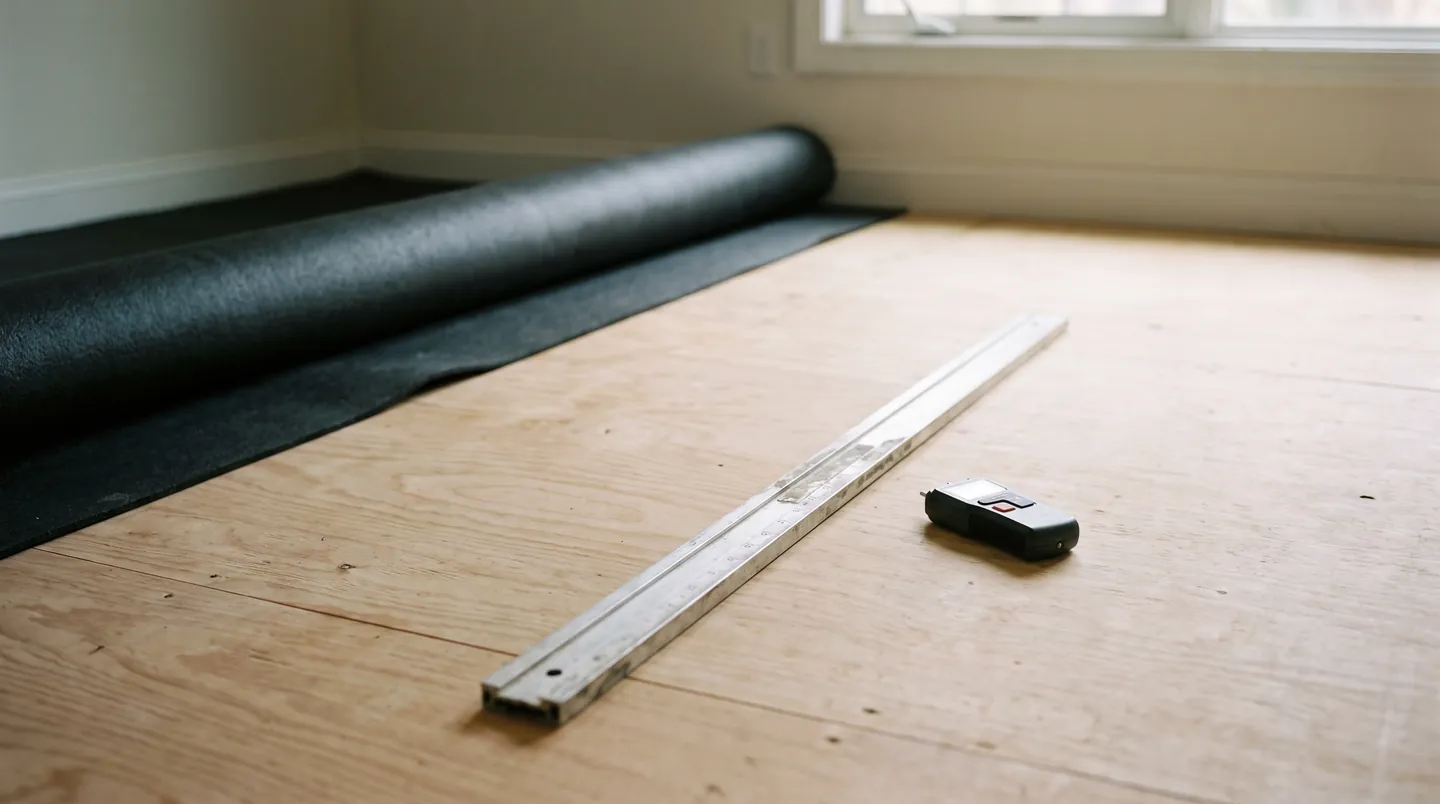
- Subfloor checks. Illustrative image.
Stage 02 of 08
Measure and site assessment
A proper measure is also an inspection: rooms with allowance for cuts and pattern, plus door heights, stair counts and every point where two floors meet.
Then the substrate gets tested. Concrete is checked for moisture with in-situ relative humidity probes (ASTM F2170) or a calcium chloride test (ASTM F1869). Wood subfloors get a meter reading. A straightedge or laser finds the dips a floating floor will telegraph and the humps tile will crack over.
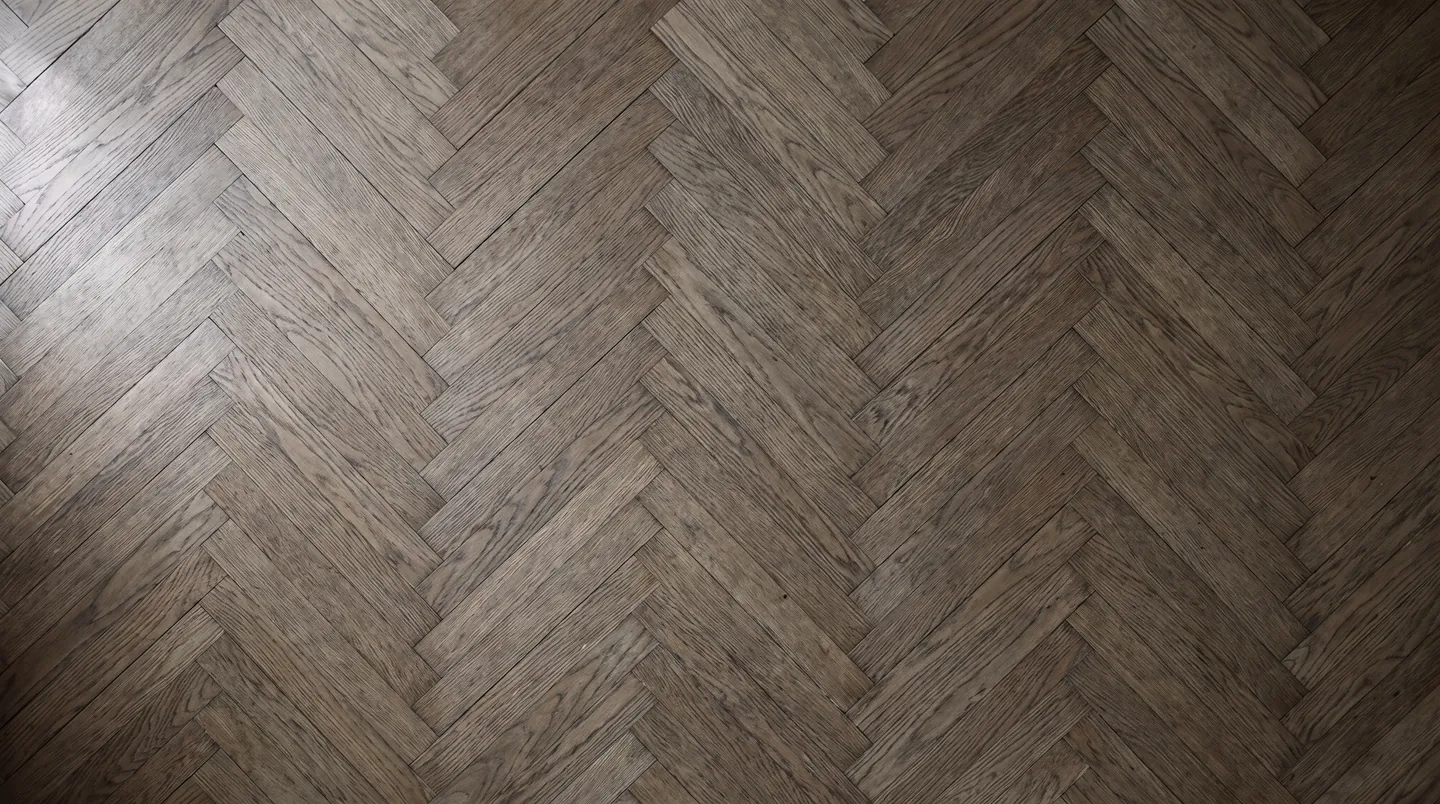
- Herringbone oak. Illustrative image.
Stage 03 of 08
Material selection and ordering
With readings and measurements in hand, the shortlist often narrows itself. A slab that tests high may rule out glue-down wood. A family with two large dogs may lean toward a scratch-resistant laminate floor with a high AC rating.
The order covers underlayment, adhesive, any mitigation, trims and stair parts too. Wood and tile vary between production runs, so the overage should come from the same lot.
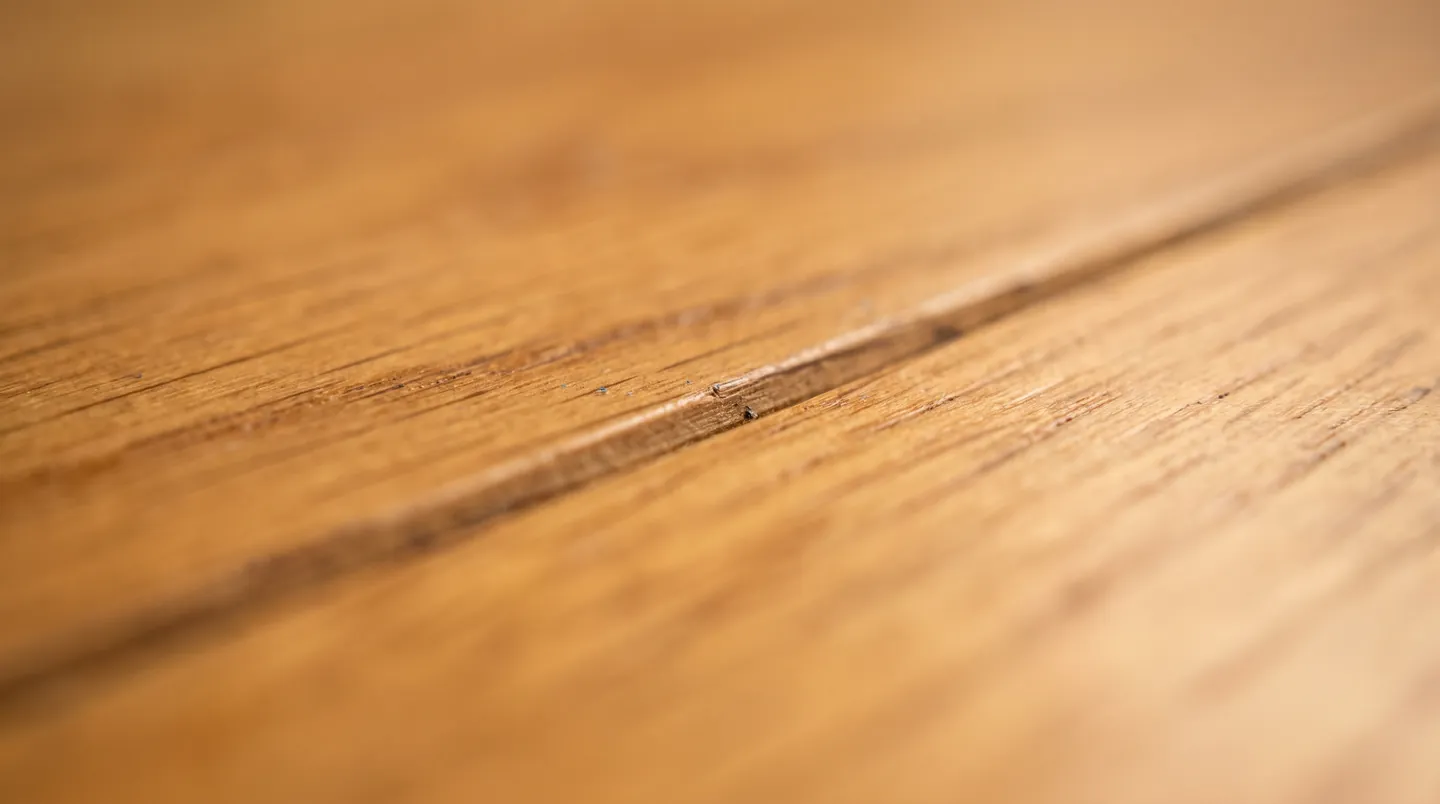
- Oak grain, close. Illustrative image.
Stage 04 of 08
Acclimation, where the material requires it
Wood takes on and gives up moisture until it matches the air around it. Solid and many engineered wood floors need time inside the conditioned home before installation, and the manufacturer's guide sets the method, the duration and the target conditions.
Some rigid-core and laminate products ask for a short rest; tile generally needs none. Either way, the HVAC should already be running at normal settings. Boxes in a cold garage don't count.
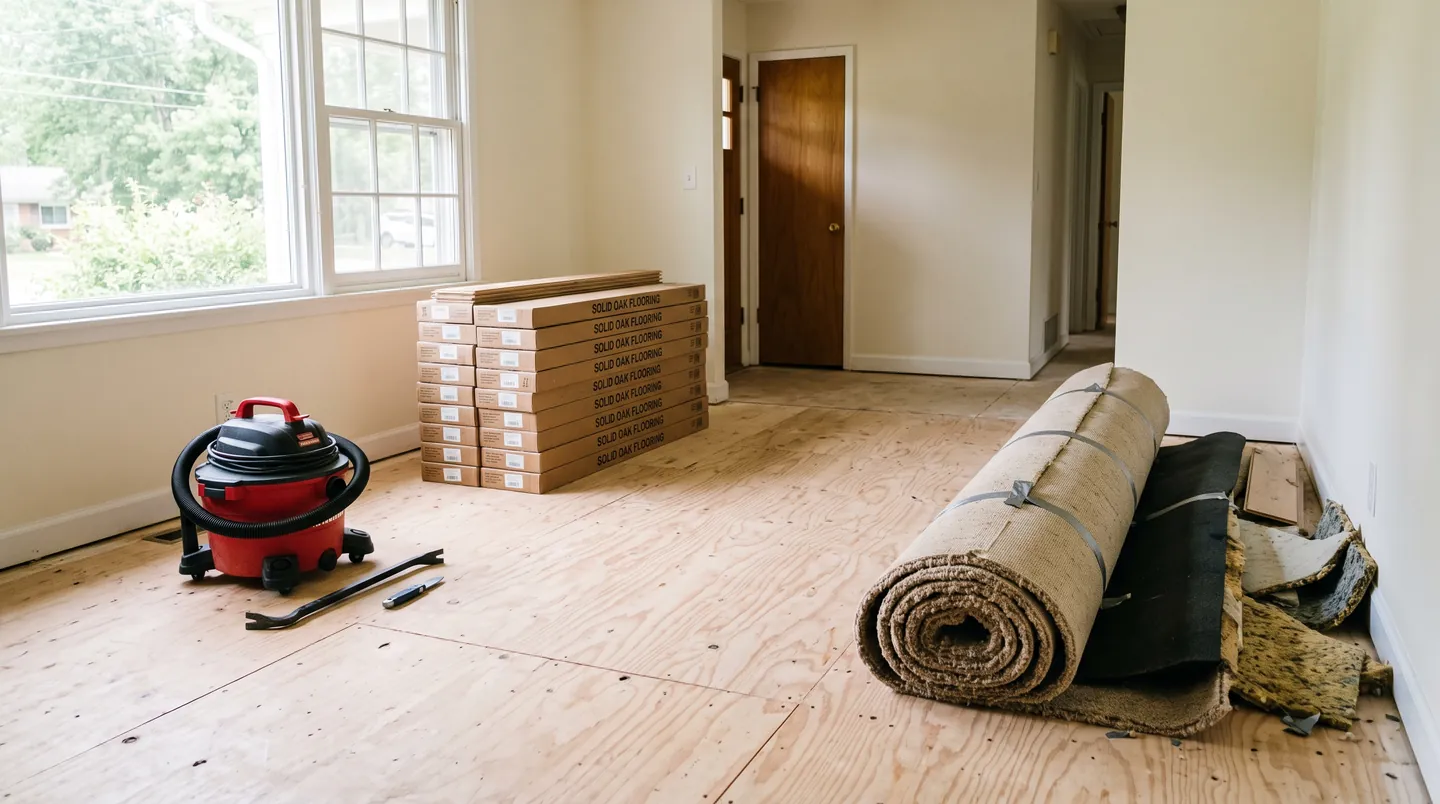
- Old floor out, subfloor exposed. Illustrative image.
Stage 05 of 08
Subfloor preparation
This stage decides whether a floor lasts, and it's the one most often rushed. High spots get ground, low spots get patch or self-leveling underlayment, and loose panels get refastened to stop squeaks. A slab that tested wet gets a mitigation system rated for that reading, or the product changes.
Door jambs and casings are undercut so the new floor slides beneath them. Old flooring comes out here too, which is where flooring replacement projects find their surprises.
- Plank going down. Illustrative image.
Stage 06 of 08
Installation
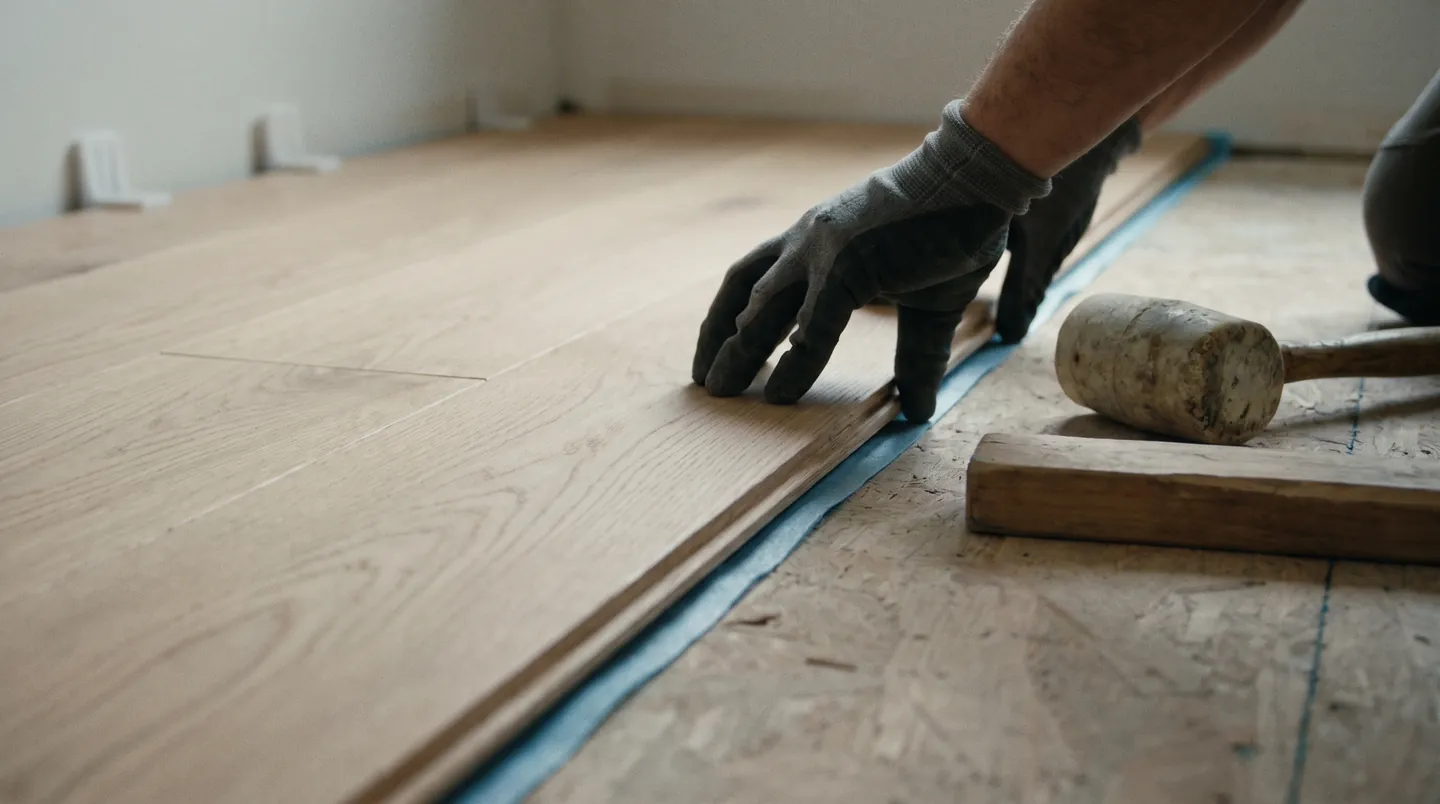
Layout lines are snapped before the first row, shifted so the room ends in balanced rows at the walls you see most. Floating floors keep their expansion gap; glue-down floors get the specified trowel notch.
Tile is checked for mortar coverage and lippage as it's set. Good installers pull from several boxes at once so color and grain mix naturally. More detail lives on our flooring installation page.
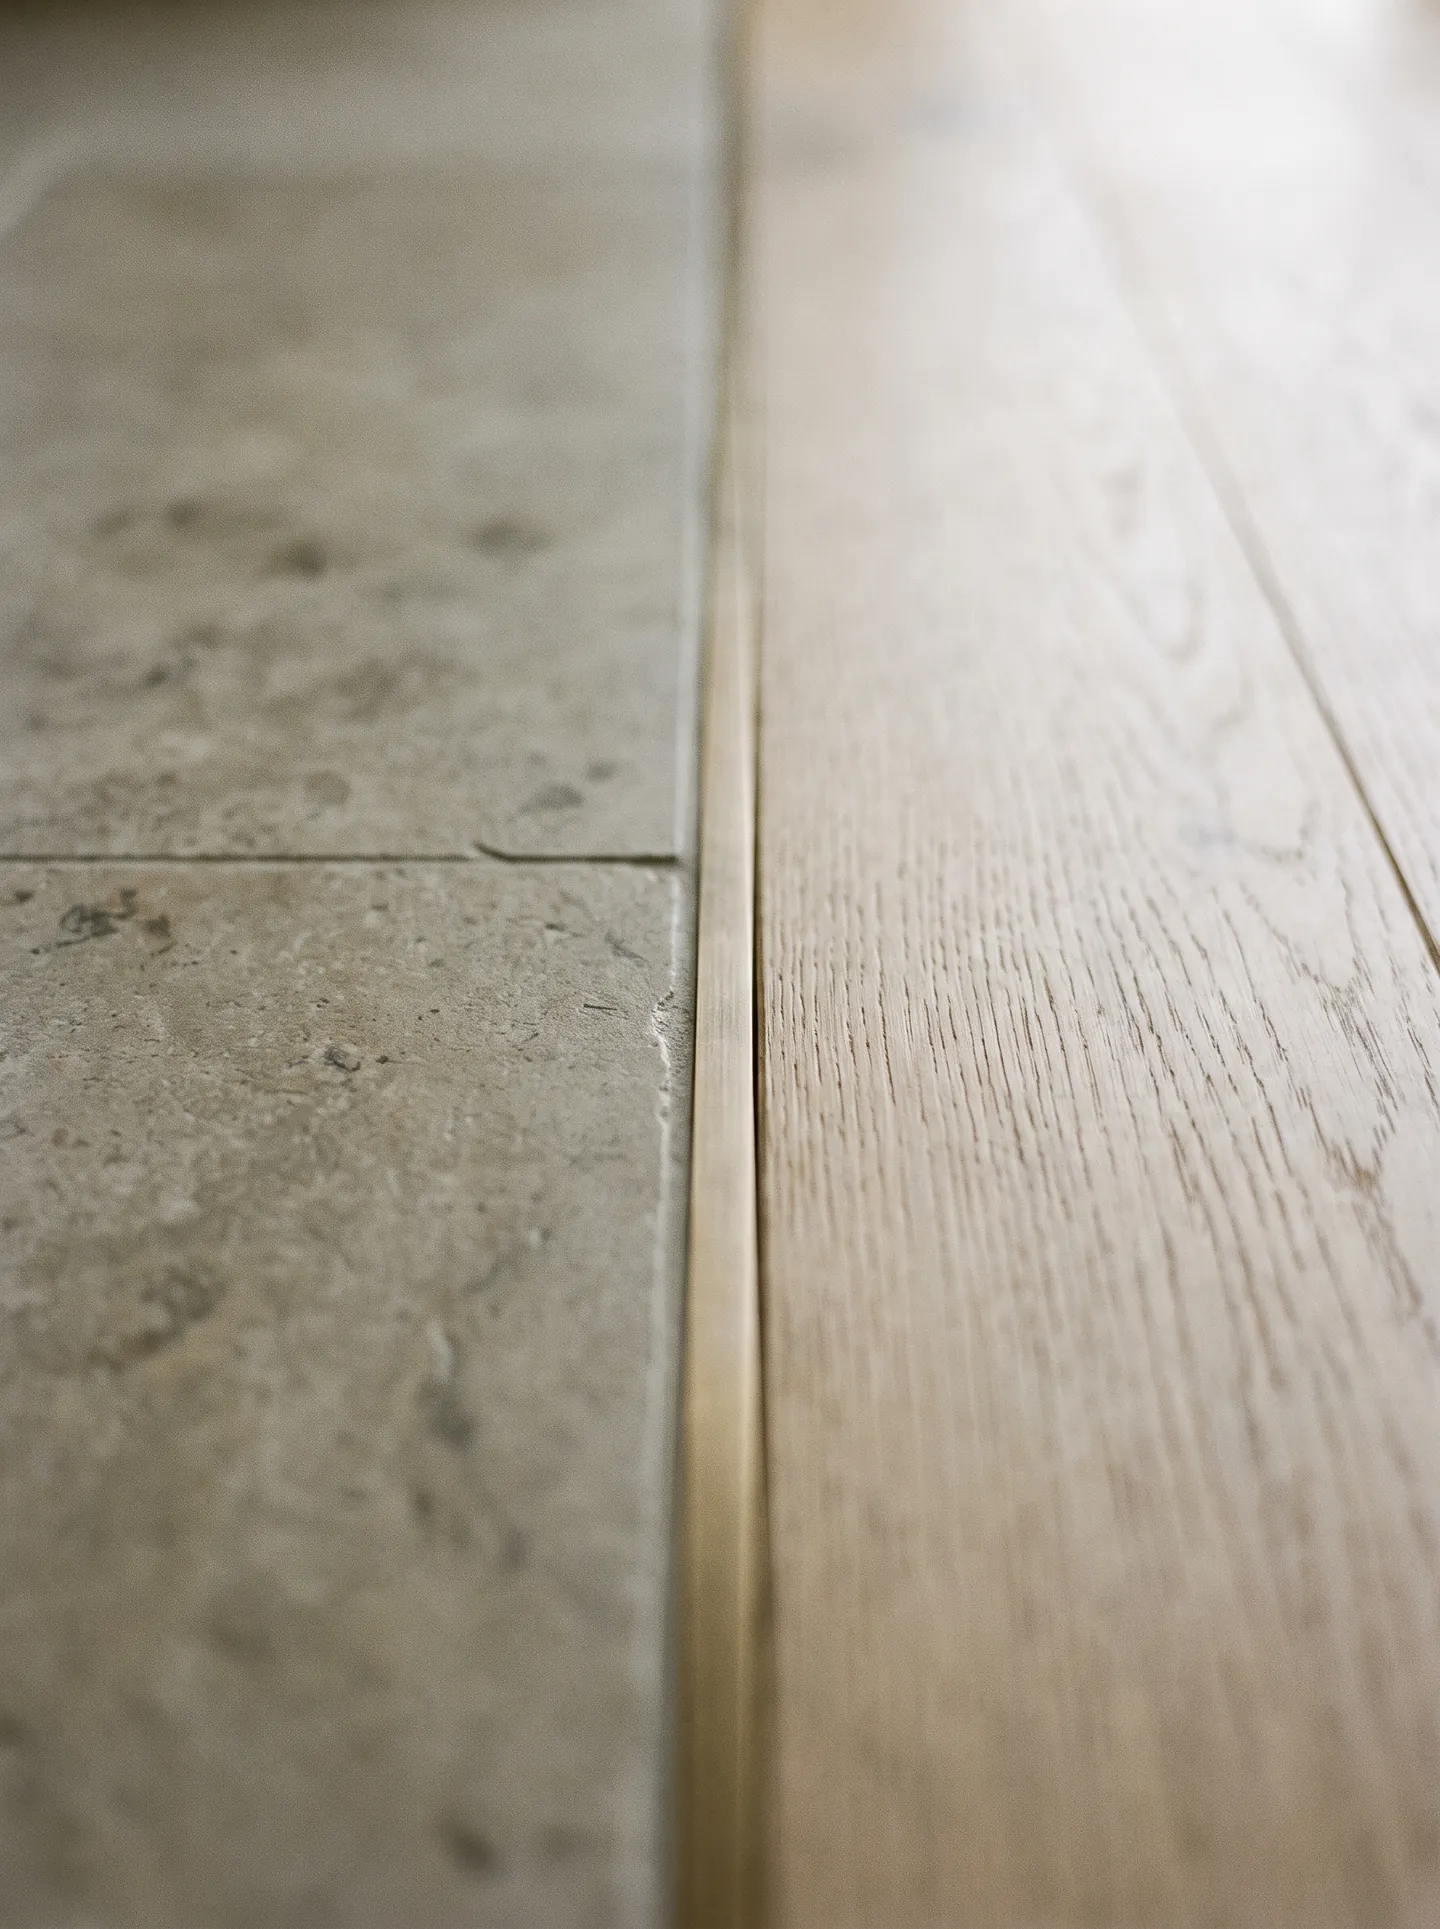
- Stone-to-oak transition. Illustrative image.
Stage 07 of 08
Finishing and transitions
Base and shoe molding go back on over the expansion gap. Reducers, T-moldings, thresholds and stair nosings are fitted to the real height difference. Where tile and stone meet wood, a flush profile or a planned threshold keeps the edge clean.
Site-finished hardwood gets its coats now, with the room off limits while each one cures. Then a final clean.
- Finished room. Illustrative image.
Stage 08 of 08
Final walkthrough and care guidance
The walkthrough is a slow lap of every room together. Look along the floor toward a window, where raking light shows gaps and finish flaws, and step near walls to find hollow spots.
Then comes care guidance for your material: the right cleaner, felt pads, winter humidity and when rugs can go down. Carpet has its own rhythm of vacuuming and extraction. Keep the product name, lot number and installation guide; a future warranty claim will ask for them.
What to Expect at Each Stage, and How to Prepare
| Stage | What you'll see | How you can prepare |
|---|---|---|
| Consultation and samples | Questions about the room, then samples to compare | Photos of each room, plus a cabinet door or paint chip |
| Measure and assessment | Measuring, moisture readings, flatness checks | Clear access, and show where the slab or subfloor is visible |
| Selection and ordering | A final product list with trims and prep materials | Approve color in daylight, plus stair and transition details |
| Acclimation | Material resting in the conditioned rooms | Run heating or cooling at normal settings and leave space |
| Subfloor preparation | Tear-out, grinding, leveling, jamb undercuts | Move small furniture and valuables; expect dust and noise |
| Installation | Layout lines, then the floor going down | Keep pets and kids out and settle plank direction early |
| Finishing and transitions | Trim, transitions, any site finishing, cleanup | Stay off site-finished floors until the coating has cured |
| Walkthrough and care | A room-by-room check together | Walk it in daylight and keep a list of questions |
Who moves furniture and who handles disposal varies, so get both in writing.
How the Process Changes With Your Project
The eight stages stay the same. Their weight shifts with the job.
Questions
Flooring Process Questions, Answered
Anything specific to your rooms belongs in the estimate conversation, where it can be checked on site.
How long does the flooring process take?
It depends on the material, the size of the job and what the subfloor needs. Acclimation, slab drying, leveling compound and finish cure each add time that can't be safely compressed. A specific schedule should come with your written estimate, after the site has been assessed.
Do I need to move out during installation?
Usually not for floating or nail-down floors, though you'll lose the rooms being worked on. Site-finished hardwood is different, since odor and cure times can make staying uncomfortable. Ask which finish system is planned.
What should I check at the final walkthrough?
Look along the floor toward a window for gaps and finish defects, walk the edges for hollow spots, open every door and check each transition. Ask for the product name, lot number and care instructions before the crew leaves.
Stage one
Every floor starts with a conversation about the room.
Tell us what's there now, what's underneath if you know, and how the space gets used. That's enough to begin.